
Color Correction: How to Evaluate Skin Tones
Courtesy of Premium Beat
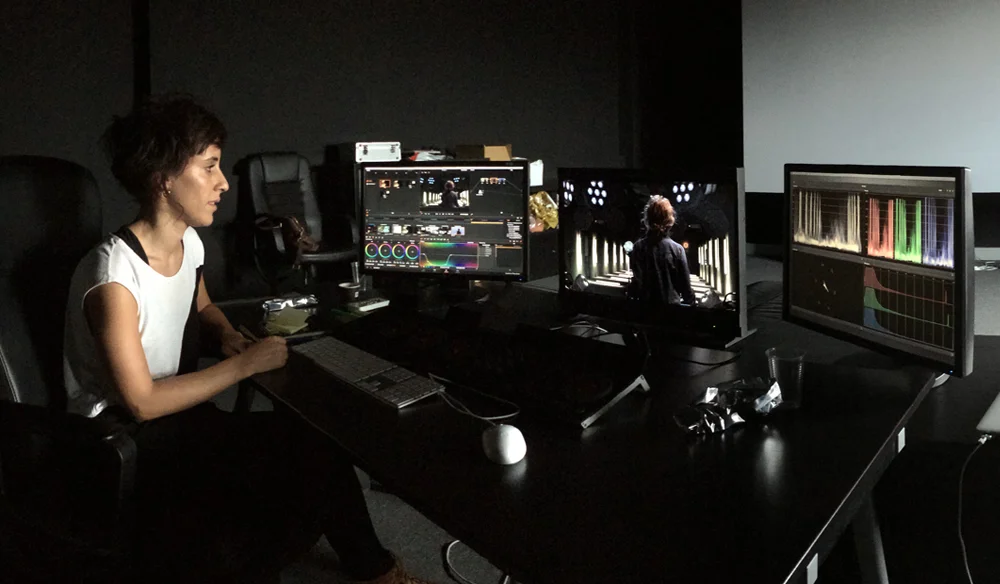
Every post-production professional has struggled with color correcting a particular shot that just never seems to look "right." If you have ever found yourself going back to the same shot again and again, wondering why it never looks balanced, the problem may be in the skin tones.
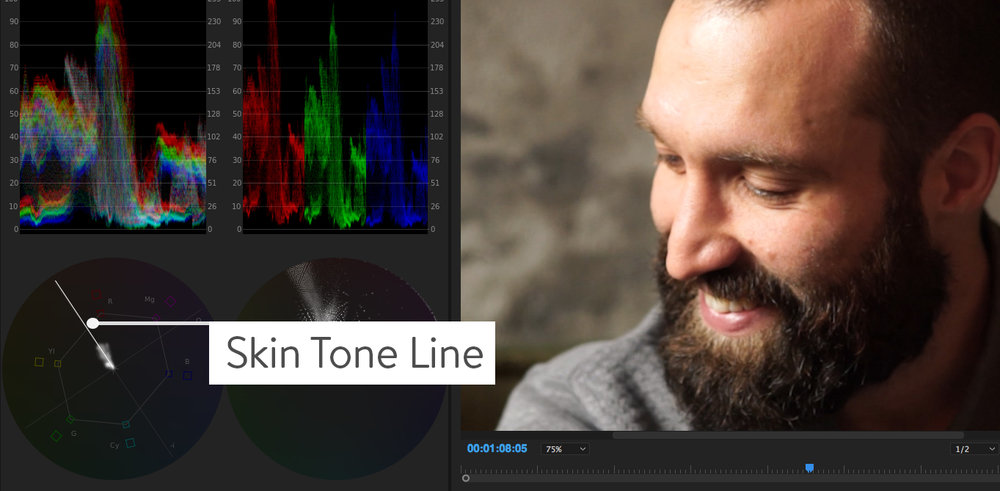
Regardless of an actor's race, his/her skin tones should always fall on the same area of the vectorscope. It's called the Skin Tone Line and it runs from the center of the vectorsope up diagonally to the left, right in between Red and Yellow, at about 10 o'clock.
Courtesy of Premiere Gal
As you make adjustments to your shot, make sure that your actors fall along this line. The shot will then have a more pleasing, balanced look.
However, sometimes it's hard to distinguish where your skin tones are falling, especially when your actor isn't the dominant object in the frame. How can you quickly and easily isolate just the skin tones to evaluate the shot?
Here's a tip I learned from Larry Jordan. Take a crop effect and apply it to the clip. Then, crop in to the portion of the frame that contains a selection of the actor's skin and nothing else. Now you have isolated the skin tone in your shot and can quickly evaluate the color on the vectorscope, making sure that it lands right along the Skin Tone Line.
Have any other color correction tips? Leave your advice in the Comments section.