
Using the Swivi LCD External Monitor

I love using the Canon 5D Mark III but one of its shortcomings is the lack of a swivel LCD screen that's found on other Canon models like the T5i or 70D. The lack of a swivel screen can be problematic when you try to monitor a low- or high-angle shot.
Recently I had the chance to try out the Swivi external LCD monitor from GGS Photographic Equipment Co. Here are a few of my initial observations:
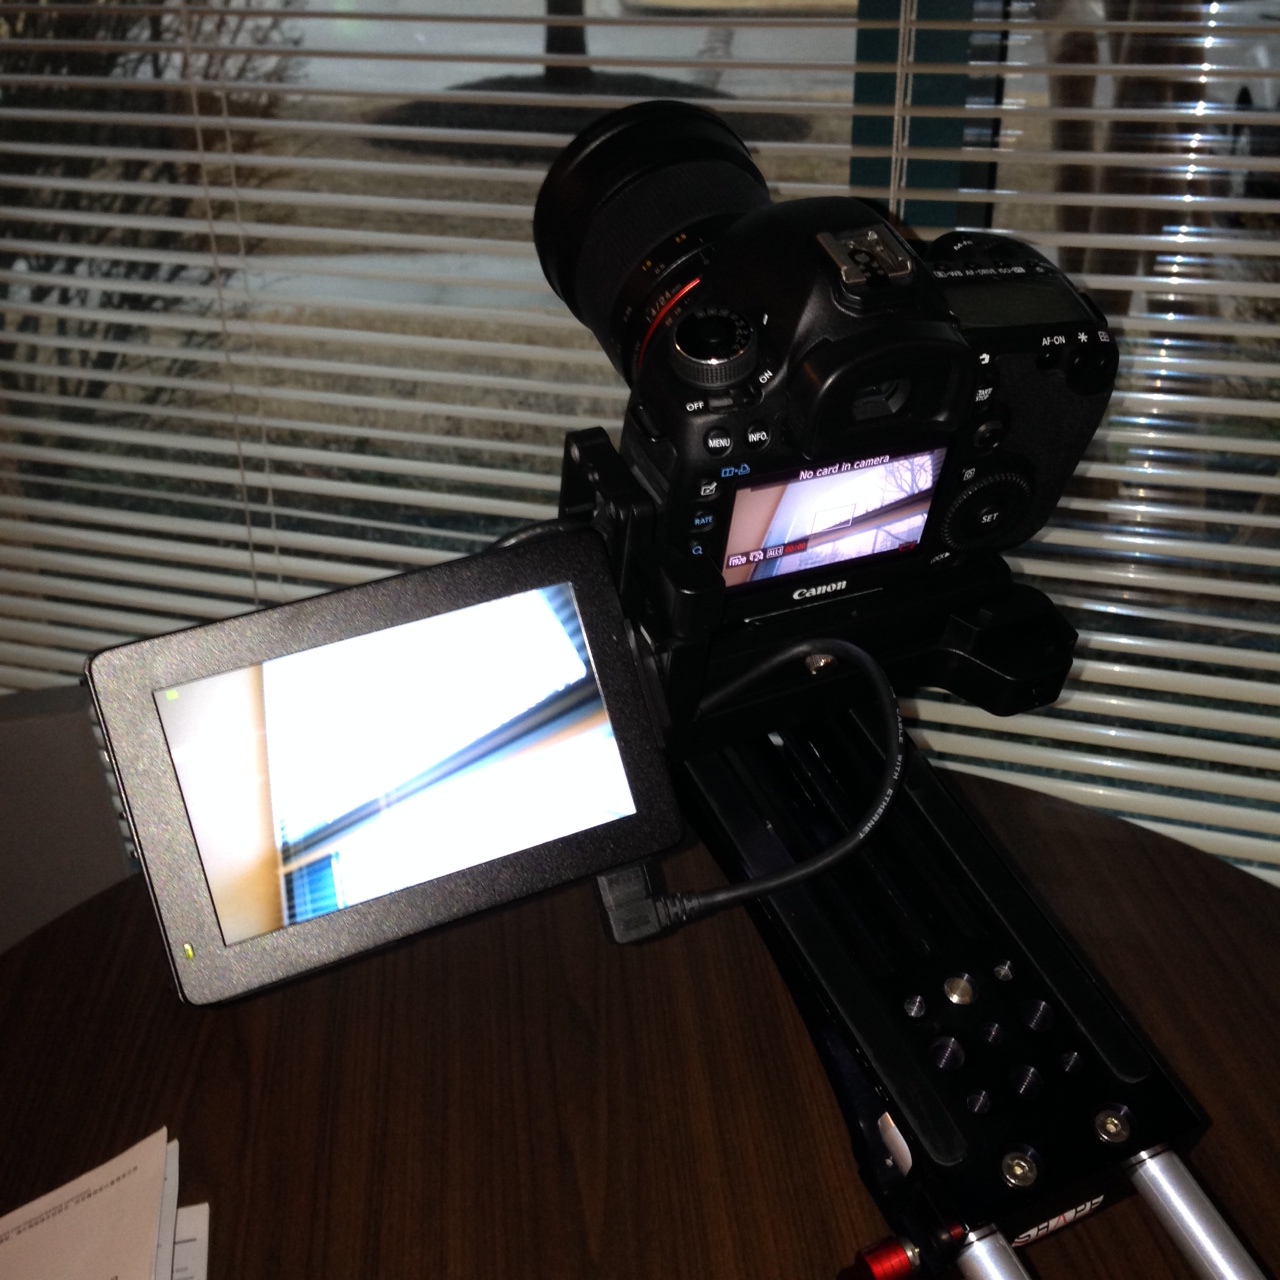
The Swivi attached to the 5D Mark III and mounted to a Shape camera rig
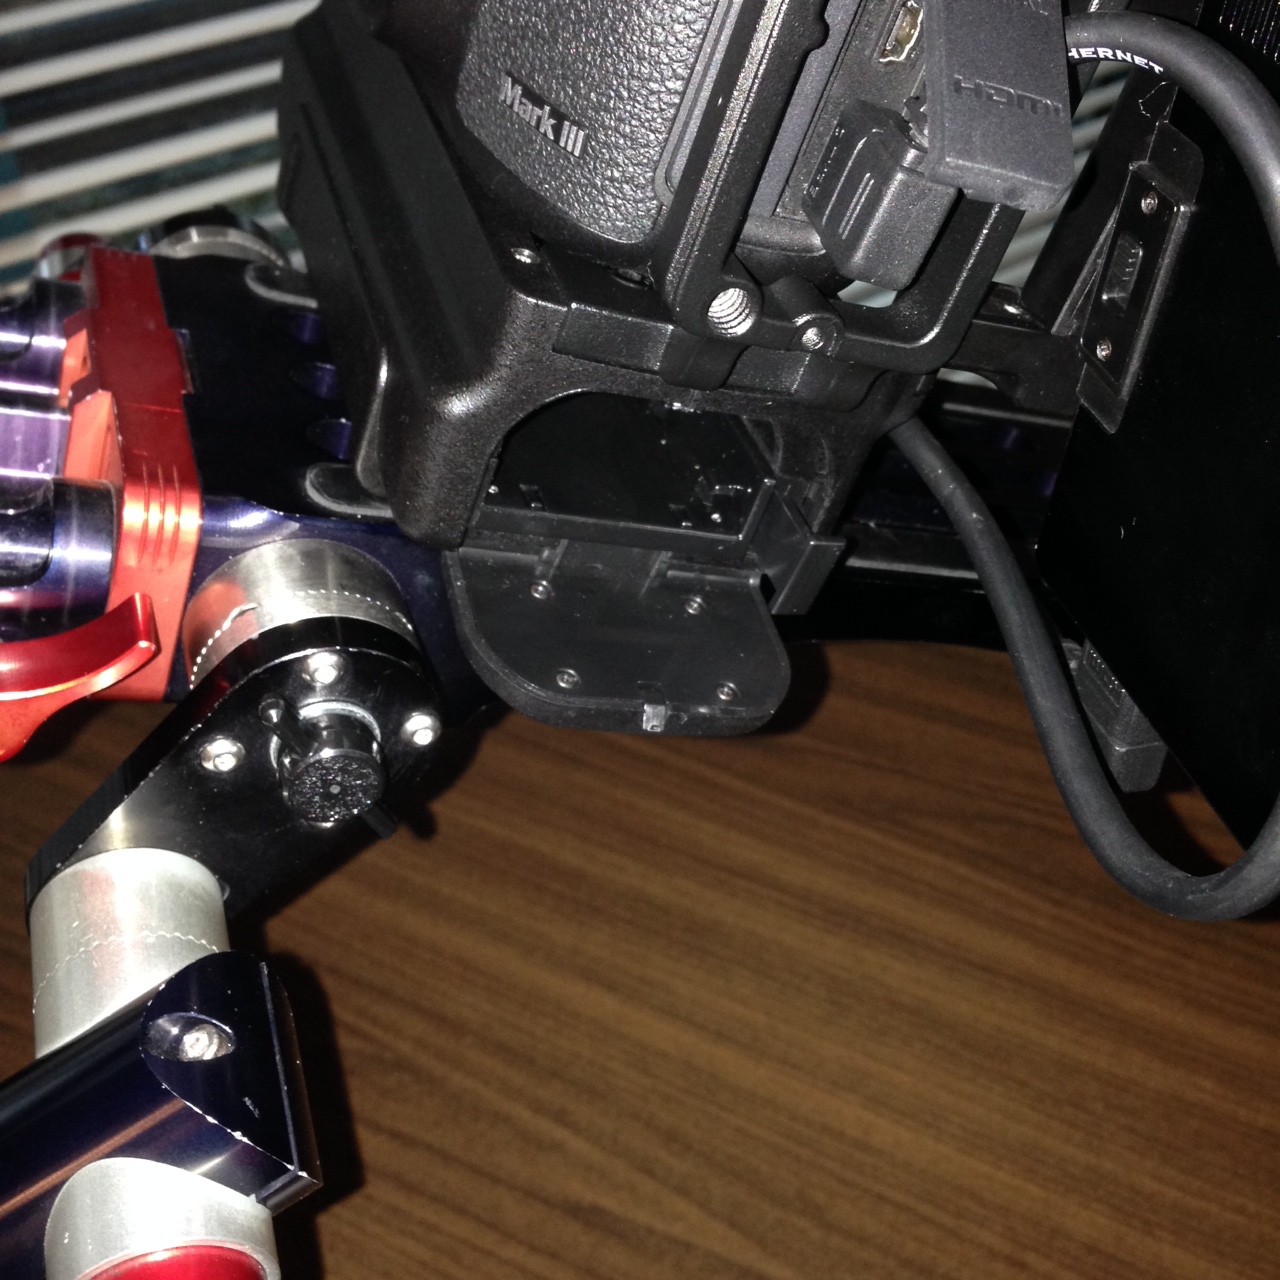
The open battery compartment of the Swivi.

To mount the camera, slide from right to left and tighten the silver screw in the center.
The larger 5.6" screen is great, compared to the built-in 3" LCD of the 5D. However, shortly after taking the Swivi out of the box and powering it up, I noticed a dead pixel.
The bracket that mounts to the camera is solid and feels good ergonomically when holding the 5D in your hand. It doesn't weigh the camera down in any noticeable way and gives some stability to handheld shots.
The battery compartment will hold two Canon LP-E6 batteries, so you can use any 5D batteries you already have on hand. However, the batteries don't slide into the compartment. You have to remove the battery tray first, then insert the batteries, and then slide the tray back into the compartment. I like the idea of having two batteries inside the base. It will definitely give you more operating time in the field.
The screen's range of motion is limited slightly once mounted on the camera, due to the HDMI cable running from the camera to the monitor. However, the monitor will still pivot enough to fit your needs. Just be careful not to crimp your HDMI cable. It can also be a bit difficult to plug the HDMI into the camera, since you are forced to thread the cable through the Swivi's mounting bracket.
Mounting the camera to the Swivi involves three steps: 1) screw the mounting plate to the bottom of the camera, 2) mount the camera onto the base by sliding the camera from right to left, 3) tighten the center screw to lock the camera onto the base. To release the camera,, simply loosen the center screw, hold down the release button to the right side of the mount, and slide the camera off to the right. This is very convenient for when you need to change camera batteries.
The Swivi gives the user all of the normal monitor controls - brightness, contrast, etc. Also included is the ability to toggle focus peaking and safe zones. I really like the focus peaking feature. Achieving accurate focus can be a challenge when shooting wide open with a very fast lens. With peaking turned on, the Swivi will display green lines to everything that's in focus. You can also dial in the sensitivity of the peaking lines, much like using zebras for exposure. Peaking and safe zones can be assigned to two shortcut buttons on the left side of the Swivi, so you don't have to dig into the menus to find them.
Be aware of the display's magnification feature. The Swivi seemed to default to this magnified setting whenever it was turned on. Having it on means that you aren't seeing all of what your camera is seeing, so your compositions may be a bit off. To zoom back out, simply turn the dial on the side of the Swivi.
Overall, I look forward to working with the Swivi more. I think it's a great asset for any DSLR package, and it works great either hand-held or on a camera support rig.