
How to Solve Adobe Media Encoder's Ingest Preset Bug

Image courtesy of @faurebien via Unsplash
If you’re a video editor who likes to create custom ingest presets for your proxy workflow, you might have noticed a bug with Adobe Media Encoder recently. I like to work with 1280x720p ProRes proxies for my 4K workflow, but when I tried creating that custom preset in Media Encoder, I noticed a problem. Maybe you have as well.

If you click on the + icon in Media Encoder’s Preset Browser window and go through the steps of defining your custom ingest preset settings and exporting the final .epr file, you may notice that you get an error message within Premiere Pro when you try and add that preset to your Ingest settings.
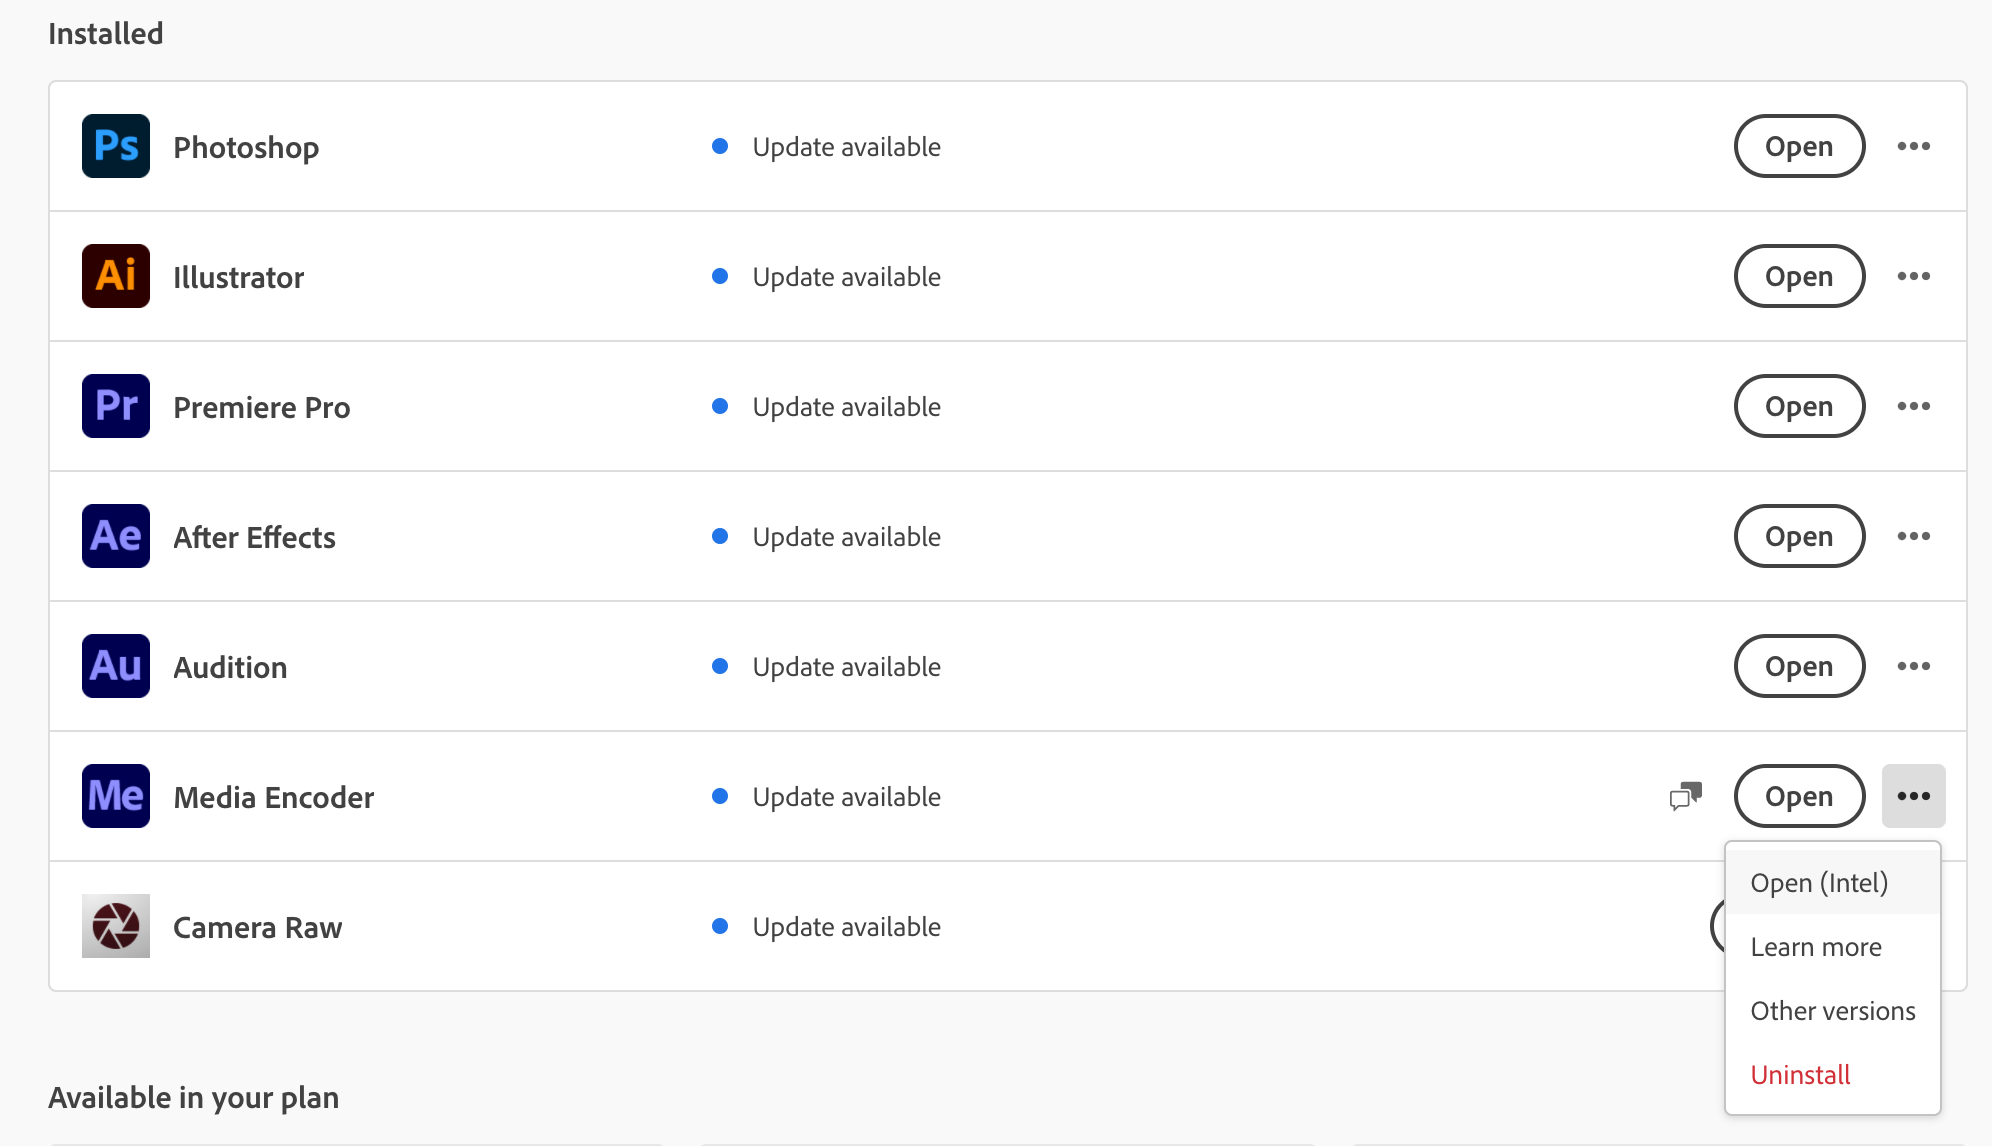
To solve this, open your Creative Cloud app, and click on the three dots next to Media Encoder. Do not click “Open.” Once you click the three dots, select Open (Intel) from the Dropdown menu.
Once Media Encoder opens, go through the same process again. Click the + icon in the Preset Browser window and select “Create Ingest Preset.” Then the correct window will pop up, allowing you to create a preset that Premiere Pro will recognize.

Have any other Adobe Creative Cloud tips? I’d love to hear from you. Leave them in the Comments.